
BUSINESS
Why Well Water Testing in Virginia is Essential for Your Health
Today, we’re diving into a crucial topic for many of us living in the Old Dominion: well water testing. If you’re one of the millions of Virginians relying on private wells for your water supply, this post is for you. We’ll explore why well water testing in Virginia is not just important but essential for your health and well-being.
The Well Water Landscape in Virginia
Before we discuss well water testing, let’s set the scene. Virginia is home to diverse landscapes, from the coastal plains to the Appalachian Mountains. This geographical variety means that our groundwater can vary significantly in quality and composition. Whether you’re in the Tidewater region or the Shenandoah Valley, well water testing in Virginia is a must for every household relying on private wells.
Why is Well Water Testing in Virginia So Important?
You might be wondering, “Why all the fuss about well water testing in Virginia?” Well, grab a glass of water (maybe not from your untested well just yet), and let’s break it down:
- Natural Contaminants: Virginia’s geology can introduce various minerals and elements into our groundwater. Some of these, like iron or manganese, affect taste or stain your laundry. Others, like arsenic or radon, can pose serious health risks.
- Agricultural Runoff: Agriculture is a significant part of Virginia’s economy, and pesticides and fertilizers can enter our groundwater.
- Industrial Activities: Certain areas in Virginia have a history of industrial operations that could potentially impact groundwater quality.
- Septic Systems: Many rural areas in Virginia rely on septic systems, which, if not maintained properly, can contaminate nearby wells.
- Changing Water Tables: Droughts, floods, and land-use changes can all affect the quality and quantity of well water.
Regular well water testing in Virginia helps you stay on top of these potential issues and ensure your water remains safe to drink.
Common Contaminants Found in Virginia Well Water
Now that we understand why well water testing in Virginia is crucial let’s talk about what we’re actually testing for. Here are some common contaminants that well water testing in Virginia often reveals:
Bacteria and Microorganisms
Coliform Bacteria
These little buggers are often harmless themselves, but their presence can indicate that other, more dangerous pathogens might be lurking in your water. Well, water testing in Virginia frequently checks for total coliform bacteria as a general indicator of water quality.
E. coli
This is the bad boy of the bacterial world. If well water testing in Virginia finds E. coli in your water, it’s a sign of fecal contamination. If not addressed promptly, this could lead to some nasty gastrointestinal issues.
Chemical Contaminants
Nitrates
Often a result of agricultural runoff or septic system issues, high nitrate levels can be particularly dangerous for infants and pregnant women. Well water testing in Virginia always includes a nitrate check.
Arsenic
This naturally occurring element can be found in some Virginia groundwater, particularly in certain geological formations. Long-term exposure to arsenic through drinking water can increase cancer risk.
Lead
While not naturally occurring in groundwater, lead can leach into your water from old plumbing. Well water testing in Virginia often includes lead testing, especially for older homes.
Mineral-Related Issues
Iron and Manganese
These minerals are common in Virginia’s groundwater. While not typically health concerns, they can cause staining and affect the taste of your water.
Hardness (Calcium and Magnesium)
Hard water is a common issue in many parts of Virginia. While not a health risk, it can lead to scale buildup in pipes and appliances.
The Well Water Testing Process in Virginia
Alright, now that we know what we’re up against, let’s talk about how well water testing in Virginia actually works. Don’t worry, it’s not as complicated as you might think!
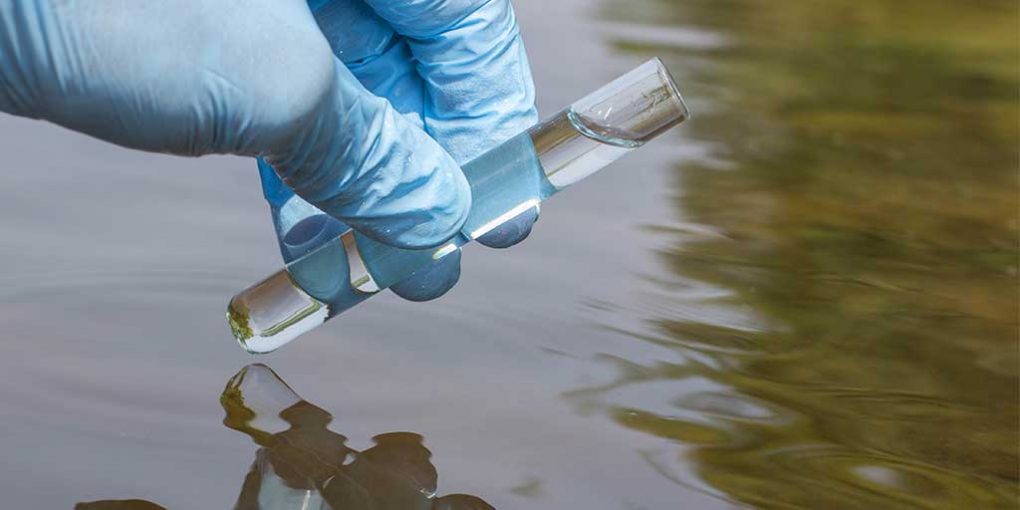
Step 1: Collecting Samples
The first step in well water testing in Virginia is collecting water samples. This is usually done by a professional to ensure the samples are collected correctly. They’ll typically take samples from:
- Your kitchen tap
- Directly from the well
- Any water treatment systems you might have
Step 2: Laboratory Analysis
Once collected, these samples are sent to a certified laboratory for analysis. The lab will conduct a series of tests based on what you’re looking for. A basic well water testing in Virginia usually includes:
- Bacteria (total coliform and E. coli)
- Nitrates
- pH
- Total dissolved solids
More comprehensive well water testing in Virginia might also include tests for:
- Heavy metals (like lead, arsenic, and copper)
- Volatile organic compounds (VOCs)
- Pesticides and herbicides
- Radiological contaminants (like radon)
Step 3: Interpreting Results
Once the lab completes the well water testing in Virginia, you’ll receive a report. This report can look pretty intimidating with all those numbers and scientific terms. Don’t panic! Most labs provide guidelines to help you interpret the results. Additionally, many well water testing services in Virginia offer consultation to explain what the results mean for your specific situation.
How Often Should You Test Your Well Water in Virginia?
Now, you might be thinking, “Okay, I get it. Well water testing in Virginia is important. But how often do I need to do this?” Great question! The answer depends on a few factors:
Annual Testing
At a minimum, well water testing in Virginia should be done annually for:
- Bacteria (total coliform and E. coli)
- Nitrates
- Total dissolved solids
- pH levels
More Frequent Testing
You might need more frequent well water testing in Virginia if:
- You notice changes in your water’s taste, odor, or appearance
- There’s been flooding or land disturbances near your well
- You’ve replaced or repaired any part of your well system
- There’s a pregnant woman or infant in your household
- You learn of contamination in your area
Comprehensive Testing
Every few years, consider a more comprehensive well water testing in Virginia. This might include tests for:
- Heavy metals
- Volatile organic compounds (VOCs)
- Radionuclides
Remember, when it comes to well water testing in Virginia, it’s better to be safe than sorry!
Implications of Well Water Testing Results
Okay, so you’ve done your well water testing in Virginia. The lab has sent back the results. Now what? Let’s break down what different findings might mean for you and your family.
Bacterial Contamination
If your well water testing in Virginia reveals the presence of coliform bacteria or E. coli, it’s time to take action. This could mean:
- Shock chlorination of your well
- Inspection and possible repair of your well cap or casing
- Installation of a disinfection system
Remember, bacterial contamination can lead to gastrointestinal illnesses. It’s not something to ignore!
High Nitrate Levels
Elevated nitrates found during well water testing in Virginia are particularly concerning for households with infants or pregnant women. High nitrates can lead to a condition called methemoglobinemia or “blue baby syndrome.” If your nitrate levels are high, you might need to:
- Identify and remove the source of contamination (often related to agricultural runoff or septic system issues)
- Install a nitrate removal system
- Consider using bottled water for drinking and cooking, especially for infants
Presence of Heavy Metals
Well water testing in Virginia sometimes reveals the presence of heavy metals like lead, arsenic, or copper. These can have serious long-term health effects. Depending on the specific metal and its concentration, you might need to:
- Install a specific filtration system
- Replace old plumbing (in the case of lead)
- Consider alternative water sources
pH Imbalance
While pH itself isn’t typically a health concern, it can affect how your water interacts with plumbing and can influence the effectiveness of disinfection. If well water testing in Virginia shows your pH is off:
- For acidic water (pH < 7), you might need a neutralizing filter to prevent corrosion of pipes
- For alkaline water (pH > 7), you might experience scale buildup in pipes and appliances
High Total Dissolved Solids (TDS)
TDS includes minerals, salts, and metals dissolved in water. High TDS isn’t usually a health concern, but it can affect taste and cause scaling. If your well water testing in Virginia shows high TDS, you might consider:
- A reverse osmosis system for drinking water
- A water softener to reduce scaling
The Bigger Picture: Why Well Water Testing in Virginia Matters
We’ve talked a lot about the nitty-gritty details of well water testing in Virginia, but let’s zoom out for a moment. Why does all this really matter?
Protecting Your Family’s Health
First and foremost, well water testing in Virginia is about protecting your family’s health. Many contaminants we test for can cause immediate or long-term health effects. By staying on top of your water quality, you’re taking an important step in safeguarding your loved ones’ well-being.
Preserving Your Home and Appliances
Beyond health concerns, well water testing in Virginia can help you prevent damage to your home and appliances. Hard water, for instance, can shorten the lifespan of your water heater, dishwasher, and other appliances. By identifying these issues early, you can take steps to mitigate them and save money in the long run.
Environmental Awareness
Well water testing in Virginia also contributes to broader environmental awareness. If contamination is found in your well, it could indicate larger environmental issues in your area. This information can be valuable for your community and local environmental agencies.
Peace of Mind
Last but not least, regular well water testing in Virginia gives you peace of mind. Knowing that your water is safe can take one worry off your plate in our often-stressful world.
Taking Action: What to Do After Well Water Testing in Virginia
So, you’ve completed your well water testing in Virginia, and you’ve got your results. What now? Here are some steps you might consider:
If Your Water Passes the Test
Great news! If your well water testing in Virginia comes back clean, you can breathe a sigh of relief. But don’t get complacent:
- Mark your calendar for your next annual test
- Keep an eye (and nose) out for any changes in your water’s appearance, smell, or taste
- Consider investing in a water quality monitoring system for ongoing peace of mind
If Contaminants Are Found
Don’t panic if your well water testing in Virginia reveals some issues. There are usually solutions available:
- Consult with Experts: Reach out to water quality specialists or your local health department for advice.
- Consider Treatment Options: Depending on the contaminants found, you might need to install water treatment systems. These could include:
- Water softeners
- Reverse osmosis systems
- UV disinfection units
- Activated carbon filters
- Address the Source: If possible, try to identify and address the source of contamination. This might involve:
- Repairing or replacing your well
- Addressing issues with nearby septic systems
- Working with neighbors or local authorities on broader environmental concerns
- Re-test: After taking corrective measures, make sure to re-test your water to ensure the problem has been resolved.
The Future of Well Water in Virginia
As we wrap up our deep dive into well water testing in Virginia, let’s look ahead. What does the future hold for well water users in the Old Dominion?
Climate Change Impacts
Climate change is likely to affect groundwater resources in Virginia. More frequent droughts could lead to lower water tables, while increased flooding events might introduce new contaminants. Regular well water testing in Virginia will become even more crucial in monitoring these changes.
Emerging Contaminants
As science advances, we’re becoming aware of new potential contaminants, like PFAS (per- and polyfluoroalkyl substances). Future well water testing in Virginia may include screenings for these emerging concerns.
Technological Advancements
The good news is that technology is also advancing. We may see more affordable, user-friendly home testing kits for well water testing in Virginia. Additionally, real-time monitoring systems could provide ongoing data about your water quality.
Policy Changes
As awareness grows about the importance of well water quality, we might see new policies and regulations around well water testing in Virginia. Stay informed about any changes that might affect you as a well owner.
Conclusion: Your Role in Safe Well Water
We’ve covered a lot of ground today, from the basics of well water testing in Virginia to the implications of various test results. But remember, all this information is only valuable if you put it into action.
As a well owner in Virginia, you’re the guardian of your household’s water quality. Regular well water testing in Virginia is your first line of defense against potential health risks and water quality issues. It’s an investment in your family’s health, your home, and your community.
So, don’t wait. If you haven’t had your well water tested recently, now’s the time to schedule that well water testing in Virginia. Your future self (and your family) will thank you.
Here’s to clean, safe water for all Virginians, straight from the tap!

General Recommendations for Dental Visits
How often you need to visit the dentist isn’t always clear-cut. The long-standing rule was to see your dentist two times a year for checkups and professional cleanings. This twice-yearly schedule promotes early detection of dental concerns, such as tooth decay, gum disease, and oral cancer, making treatment easier and less invasive. By catching problems before they can worsen, you can often avoid more complex and expensive procedures.
For those with chronic conditions, such as diabetes, or a past incidence of cavities and gum disease, dental professionals often suggest more frequent check-ins, sometimes every three to six months. This shorter interval allows your dentist to closely monitor healing, disease progression, and the effectiveness of your home care routine. Many dental insurance policies, especially comprehensive options like Delta Dental PPO insurance in Florida, are designed to support regular preventive care, making it easier to stick to the right schedule without unexpected costs. If you’re unsure how often you should go, talk with your dentist about individual risk factors and how other health issues, such as pregnancy or medication use, may influence your needs.
Factors Influencing Visit Frequency
Your unique health profile determines how often dental appointments should be booked. Consider these influencing elements:
- Oral Health Status: Past or current dental problems, such as recurring tooth decay, enamel erosion, or gum disease, require closer monitoring. Some patients are more prone to cavities or periodontal disease due to genetic factors, medications, or underlying medical conditions.
- Overall Health: Illnesses like heart disease and autoimmune conditions may necessitate more frequent dental oversight. Evidence shows a strong connection between oral and systemic health; conditions like diabetes can influence gum health, so regular dental evaluations are essential.
- Lifestyle Choices: Smoking, high sugar intake, and poor oral hygiene increase the risk of issues and warrant more regular exams. If you suffer from dry mouth due to medications or treatment (like radiation therapy), you may also be at higher risk for oral health problems.
For those at low risk, which means you practice good oral hygiene, have no history of dental disease, and maintain a balanced diet, annual or twice-yearly visits may suffice. Always consult your dentist to determine an individualized care plan based on these factors, and don’t hesitate to ask about what schedule best fits your life and health status.
Maximizing Dental Insurance Benefits
Dentists urge patients to make the most of their dental insurance coverage, which can significantly impact treatment decisions and costs. Many often leave benefits unused, potentially missing out on essential preventive care that their plan covers. Here are effective ways to maximize your benefits:
- Stay In-Network: Choose a provider within your insurance’s network for lower co-pays, as insurers have pre-negotiated rates with participating dentists. Out-of-network care often means higher out-of-pocket costs, so consult your insurance portal to find a suitable dentist.
- Strategic Treatment Planning: If you need extensive dental work, consider spreading treatments over the end and beginning of two calendar years to take advantage of annual benefit resets. By doing this, you may be able to use two years’ worth of benefits to cover procedures, reducing your expenses.
- Utilize Tax-Advantaged Accounts: Flexible Spending Accounts (FSAs) and Health Savings Accounts (HSAs) can be used to pay for eligible dental expenses with pre-tax dollars; track deadlines to avoid losing unused funds. These accounts are especially valuable if your plan limits covered treatments or you need elective procedures.
Review your insurance benefits annually and discuss with your dentist to optimize preventive and necessary care. Many dentists will even help you navigate paperwork to ensure your treatment is as affordable as possible, so don’t hesitate to ask their office staff for guidance.
Preventive Care: A Cost-Effective Approach
Preventive dentistry is your best defense against high dental costs and health problems. Regular dental cleanings and examinations can help catch cavities, gum problems, and oral cancers before they progress. Early detection leads to simpler, less invasive, and less expensive treatments. Most dental plans cover these visits at 100%, making them the most cost-effective way to maintain oral health. Even if you’re paying out of pocket, prevention is much lower than the cost of treating problems left to worsen over time.
Preventive Services Often Covered
- Professional cleanings to remove hardened plaque and tartar that brushing alone can’t reach
- Examinations and X-rays to reveal hidden cavities or bone loss that may be missed during a visual inspection
- Sealants and fluoride treatments for children, and sometimes for adults at greater risk for cavities, to strengthen tooth enamel and prevent decay
Routine dental care can prevent costly interventions and more serious health issues later. Untreated gum disease, for instance, has been linked to heart disease, stroke, and complications during pregnancy, making prevention invaluable to your overall well-being.
Addressing Dental Anxiety
Anxiety about dental visits is common, but avoiding the dentist only increases the risk of serious issues. Millions of Americans delay or skip dental care due to fear, but modern dental practices offer solutions to make visits more comfortable and stress-free. By addressing dental anxiety head-on, you protect yourself from escalating problems and ensure that minor concerns stay manageable.
- Open Communication: Share your concerns with your dentist so your care team can accommodate your needs. Many offices are experienced in working with anxious patients and will explain procedures in detail and work at your pace.
- Relaxation Techniques: Deep breathing, visualization, or calming music can greatly reduce stress. Many providers now offer amenities like headphones or blankets to help you relax during treatment.
- Sedation Dentistry: For patients with severe anxiety, sedation options can ensure a more positive experience. Whether it’s minimal sedation with “laughing gas” or deeper sedation for lengthy procedures, your dentist can discuss options to help you feel comfortable and safe.
Prioritizing your mental comfort empowers you to keep up with essential dental visits. Remember, every positive experience at the dentist makes the next one easier, and your dental team supports you every step of the way.
Alternative Options for the Uninsured
If you’re uninsured, affordable dental care is still within reach. Many resources are available to provide essential care and support good oral health, even when traditional dental insurance isn’t an option. Proactive oral care and regular checkups can save you money in the long run by preventing emergencies and avoiding complicated treatments.
- Dental Schools: Clinics at Dental schools offer treatments supervised by faculty at much lower costs. Students perform procedures as part of their education, all under the close watch of experienced instructors. While appointments may take longer, the savings can be substantial, and you’ll still receive high-quality care.
- Community Clinics: Nonprofit and government-funded clinics provide sliding fee scales based on your income. These clinics exist in many communities and cover a range of services, from cleanings and fillings to emergency tooth extractions.
- Discount Plans: Dental discount membership plans grant access to reduced rates for an annual fee.
With a little research and planning, you can find practical options to sustain your oral health even without insurance. Don’t let a lack of coverage keep you from seeking dental care; oral health is essential to overall wellness and can be managed with creativity and resourcefulness.
Conclusion
Individual needs—not just tradition—determine the best dental visit schedule. Regular, preventive appointments are invaluable to lifelong oral health, early problem detection, and cost savings. Whether you have traditional insurance, a dental PPO plan, or no coverage, prioritize your dental health and use available benefits or alternatives wisely. Consult with your dentist to customize your oral care routine and keep your smile healthy for years to come. Committing to proactive and preventive care pays dividends throughout your life and helps you avoid unnecessary pain or expense down the line.

In the wave of digital currencies, xrp price uk, as a highly anticipated cryptocurrency, has always attracted the attention of many investors due to its price trend in the UK market. Below, we will delve into the trend of XRP prices in the UK market.
Introduction to XRP
XRP is the fundamental currency of the Ripple network, which can circulate throughout the entire Ripple network with a total quantity of 100 billion and gradually decreases with increasing transactions. Ripple is an open payment network designed to address the slow and costly cross-border payments in traditional financial systems. XRP has a certain user base worldwide due to its efficient transaction speed and low transaction fees. In the UK, with the continuous development of the digital currency market, XRP has gradually entered the view of investors.
Historical trend of XRP prices in the UK market
Looking back at the past few years, the XRP prices in the UK market have experienced significant fluctuations. In the early stages, due to the overall development of the digital currency market, XRP prices were relatively low and had small fluctuations. With the increasing market awareness of digital currencies and Ripple’s continuous expansion in the payment field, XRP prices are gradually rising. During the digital currency bull market from late 2017 to early 2018, XRP prices reached historical highs. However, the market subsequently entered a bear market, and XRP prices also dropped significantly. In recent years, its price has fluctuated within a certain range, influenced by various factors such as market supply and demand, macroeconomic environment, and regulatory policies.
Factors affecting the price trend of XRP in the UK market
From the perspective of market supply and demand, if the demand for XRP in the UK market increases while the supply remains relatively stable, prices tend to rise; Otherwise, it will decline. The macroeconomic environment also plays an important role. When the economic situation is unstable, investors may shift their funds to safe haven assets such as digital currencies, thereby driving up XRP prices. In terms of regulatory policies, the UK’s regulatory attitude and policy changes towards digital currencies will directly affect market confidence. If regulatory policies tighten, it may lead to investors selling XRP and causing prices to fall; Loose policies are conducive to price increases. In addition, Ripple’s business development, technological innovation, and cooperation with financial institutions will also have an impact on XRP prices.
Future trend outlook
Looking ahead, the XRP price trend in the UK market is full of uncertainty. On the one hand, if Ripple can make more breakthroughs in the payment field, cooperate with more financial institutions, and maintain relatively loose digital currency regulatory policies in the UK, then XRP prices are expected to rise. On the other hand, the competition in the digital currency market is fierce, and new competitors are constantly emerging, which may have an impact on XRP’s market share. Meanwhile, changes in the global economic situation and adjustments in regulatory policies may also lead to price fluctuations. Investors need to consider various factors comprehensively and make cautious investment decisions when paying attention to the trend of XRP prices.
BUSINESS
From Handshake to Handoff: Why Business Cards and Their Boxes Still Matter in Modern Branding
In an era where most interactions happen online, physical tools like business cards and business card boxes might seem outdated. But for businesses serious about branding, the handshake isn’t complete until a card is exchanged—and properly stored. Despite rapid digitalization, these tangible elements still pack a punch in first impressions, organization, and brand continuity.
Let’s break down why business cards and their custom packaging matter more than ever.
The Enduring Power of a Physical Card
The act of handing over a business card creates a tactile and memorable moment. It’s more than contact information—it’s a reflection of your brand.
- Credibility: A high-quality business card suggests trust and seriousness.
- Brand Recognition: Color, typography, and layout all reinforce visual identity.
- Networking Efficiency: In fast-paced conferences or meetings, it’s faster and more professional to hand a card than to fumble with phones.
Even with NFC tech and QR codes rising, physical business cards remain irreplaceable for many professionals. And when they’re accompanied by well-designed business card boxes, they elevate the entire experience.
What Makes a Business Card Box Essential?
Business card boxes are often overlooked, but they serve both practical and branding purposes.
| Feature | Benefit |
| Protection | Prevents bends, smudges, and wear |
| Organization | Keeps multiple styles or contacts separated |
| Presentation | Gives a professional touch during handover |
| Branding Surface | Offers logo space for subtle marketing |
| Bulk Utility | Useful for tradeshows, sales teams, and events |
For B2B industries—where first impressions matter most—custom business card boxes can serve as silent brand ambassadors.
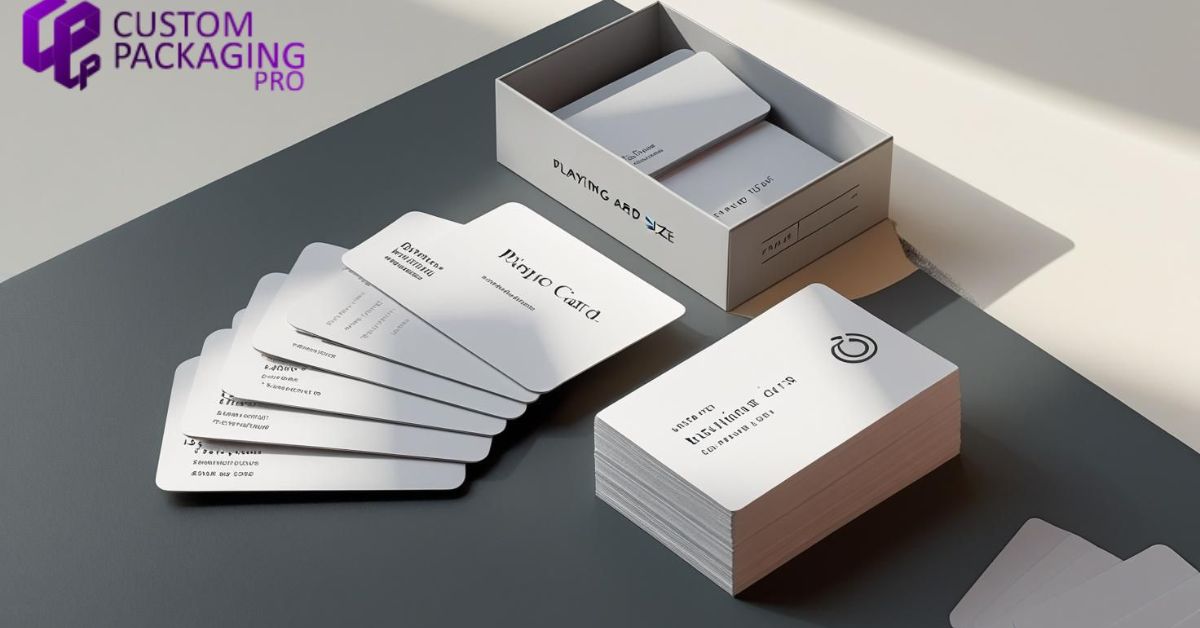
Designing for Impact: Tips for Modern Business Cards
To make a card that lands well, keep these tips in mind (especially if you’re opting for a standard playing card size, which is popular for creative business card designs):
- Use durable materials like 16pt or 18pt stock with matte or glossy finishes.
- Consider embossing, foil stamping, or spot UV for texture.
- Keep designs minimal but branded—colors, icons, and fonts matter.
- Add QR codes that link to portfolio, website, or LinkedIn.
Cards may be small, but their influence is large when the design aligns with the brand’s values. Combined with well-matched business card boxes, you ensure brand consistency from creation to presentation.
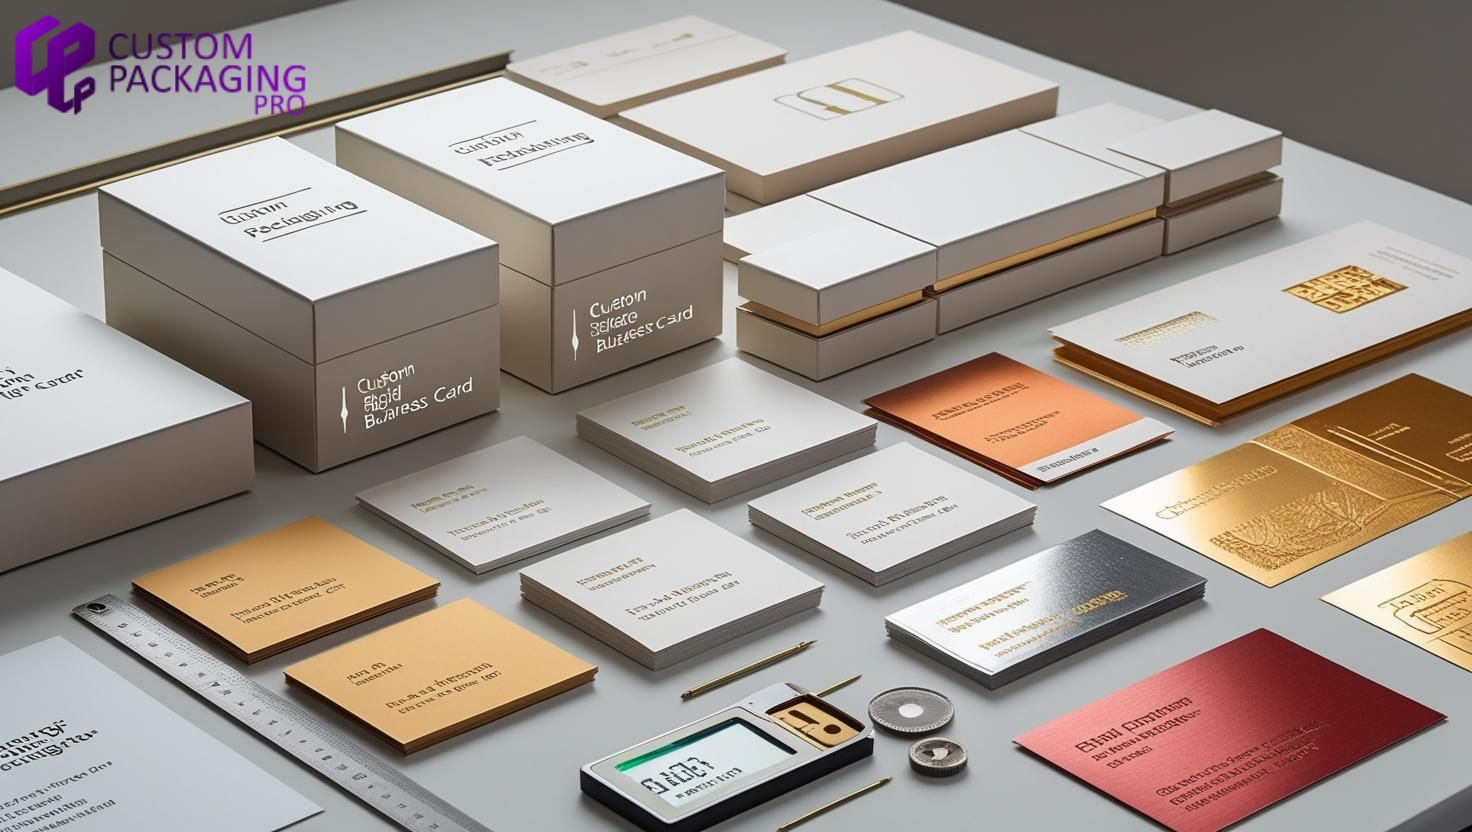
Who Needs Custom Business Card Boxes?
Custom boxes aren’t just for storage—they’re an extension of your professional story. Here’s where they shine:
| Industry | Use Case |
| Real Estate | Client meetings, open house handouts |
| Consulting Firms | Brand authority in corporate networking |
| Design Agencies | Creative presentation of contact info |
| Event Planners | Quick access to cards for vendor communication |
| Tech Startups | Pitch sessions and launch event handouts |
Having a box that holds your cards cleanly and stylishly reflects foresight and attention to detail—values every client respects.
Common User Questions Answered Naturally
- “Why do people still use business cards?”
- “How to store business cards professionally?”
- “Are business card boxes useful for networking?”
- “Best packaging for business cards”
All terms are answered conversationally to meet Google’s EEAT and voice search intent.
Why Custom Packaging Pro is the Smart Choice
If you’re looking for a partner to help you make lasting impressions, Custom Packaging Pro delivers:
- Custom-sized business card boxes with premium finishes
- Durable materials for both card protection and presentation
- In-house designers to help match your box with your branding
- Bulk discounts and reliable delivery for B2B teams
Whether you’re rebranding, launching, or attending an expo, CPP helps your brand show up sharp—card and box in hand.
FAQs
Q: Are business cards still relevant in 2025?
A: Yes! Physical business cards are still widely used in professional networking and leave a lasting impression.
Q: What are business card boxes used for?
A: They protect, organize, and elevate the presentation of your business cards.
Q: Can I get custom printed business card boxes?
A: Absolutely—companies like Custom Packaging Pro offer full customization options.
Q: What should I look for in a professional business card?
A: Durable material, clean design, brand consistency, and maybe a QR code for digital linking.

Conclusion
Even in the digital age, business cards—and the boxes that store them—deliver unmatched value in networking, branding, and presentation. For B2B professionals and growing brands, they’re a small but mighty investment. Partner with Custom Packaging ProF to create business card packaging that speaks before you say a word.
-

 TECHNOLOGY2 years ago
Elevating Game Day Eats: A Guide to Crafting Crowd-Pleasing Sliders
-

 ENTERTAINMENT2 years ago
wave_of_happy_: Your Ultimate Guide
-

 FASHION2 years ago
GPMsign Fashion: Redefining Style with Purpose
-

 TECHNOLOGY2 years ago
Trader Joe’s Dayforce: Revolutionizing Workforce Management
-

 FOOD2 years ago
Altador Cup Food Court Background: A Culinary Extravaganza Unveiled
-

 SPORTS2 years ago
Score Chaser Sporting Clays: A Thrilling Pursuit of Precision
-

 HOME IMPROVEMENT1 year ago
What Kitchen Renovation Companies Offer Beyond Basic Remodeling
-

 NEWS2 years ago
Nyl2 Kemono: Unveiling the World